You’ll discover that creating beautiful layer cakes isn’t as intimidating as it might seem. Whether you’re celebrating a milestone birthday, hosting a dinner party, or simply want to elevate your weekend baking game, understanding the fundamentals of layer cakes can transform you from an anxious baker to a confident one. From selecting the right tools to mastering basic techniques, there’s a methodical approach that guarantees success every time. The best part? Once you’ve grasped these essential building blocks, you’ll be ready to explore countless creative possibilities that’ll make your cakes the centerpiece of any celebration.
Building Your Layer Cake Foundation
Success in layer cake baking starts with proper preparation. Your cakes need a solid foundation, which means selecting compatible cake flavor combinations and guaranteeing proper layer cake stability from the start.
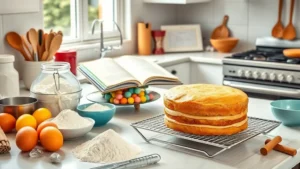
Begin by choosing cake pans that are the same size and depth, then thoroughly grease and flour them, or line with parchment paper for easy release.
You’ll want to level your cake layers once they’ve completely cooled, using a long serrated knife to slice off any domed tops. This creates flat, even surfaces that’ll stack properly without tilting or sliding.
For additional stability, you can wrap the cooled layers in plastic and refrigerate them for 2-3 hours, making them firmer and easier to handle.
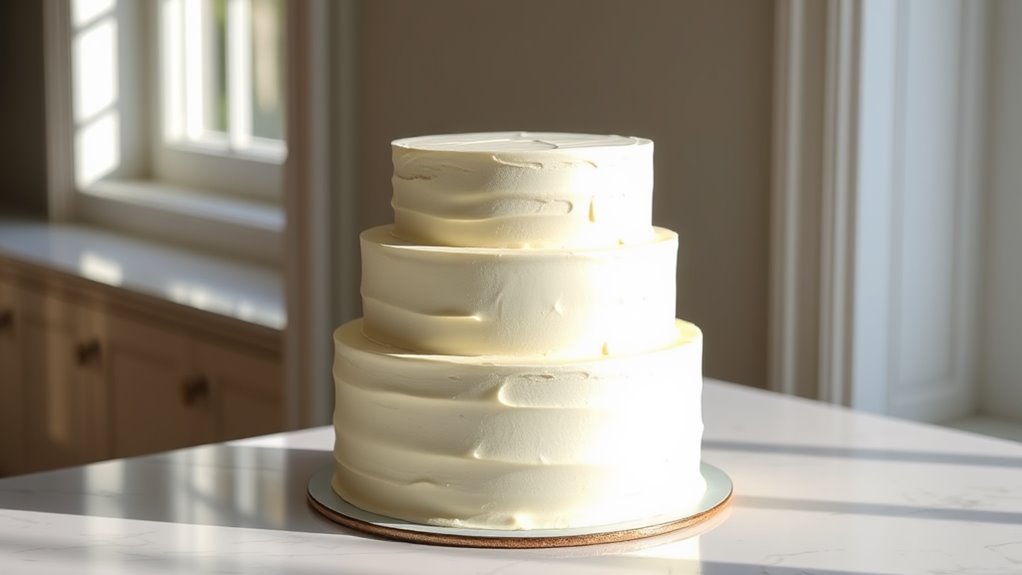
Before assembling, consider your cake-to-filling ratio – aim for layers that are 1 to 1.5 inches thick with about 1/4 to 1/3 inch of filling between each layer.
If you’re making a tall cake, insert support dowels through the layers, especially when working with softer fillings or during warm weather. This structural reinforcement guarantees your layers won’t shift or compress under their own weight.
Essential Tools and Ingredients
Having a stable cake foundation is just the start – you’ll need the right equipment and quality ingredients to bring your layer cake vision to life. Among the essential baking essentials, you’ll want a reliable stand mixer or hand mixer, offset spatulas in varying sizes, and a revolving cake stand for smooth frosting application.
A set of sharp serrated knives will guarantee clean cake layers, while metal bench scrapers help create those crisp, professional edges.
For ingredients, stock your pantry with premium vanilla extract, unsalted butter, and cake flour for the finest texture. You’ll need fresh eggs at room temperature, full-fat dairy products, and pure extracts to achieve the best flavor combinations. Don’t forget to invest in quality cocoa powder, both natural and Dutch-processed, for chocolate variations.
Keep a selection of food colorings, preferably gel-based, and various decorative elements like sprinkles and edible flowers on hand.
Your tools should include proper measuring equipment: digital kitchen scales for precise measurements, liquid measuring cups, and calibrated dry measuring cups and spoons. These fundamentals guarantee consistent results every time you bake.
Mastering Basic Cake Techniques
While creating beautiful layer cakes requires practice, mastering a few fundamental techniques will set you up for success. You’ll need to start by properly preparing your pans with butter and parchment paper, guaranteeing even heat distribution and easy release.
When measuring ingredients, use the scoop-and-level method for dry ingredients and clear measuring cups at eye level for liquids to achieve consistent cake texture.
Mixing techniques play a vital role in your cake’s final structure. You’ll want to cream butter and sugar until light and fluffy, typically 3-5 minutes, before adding room-temperature eggs one at a time. Alternate adding dry and wet ingredients in thirds, mixing just until combined to avoid developing excess gluten.
Flavor balancing requires careful attention to complementary tastes and proper portioning. You’ll achieve the best results by using quality extracts, fresh zests, and precise measurements – generally starting with 1-2 teaspoons of extract per cake layer.
When assembling, level each cake layer with a serrated knife, and apply a thin crumb coat of frosting before the final coating to guarantee a polished appearance.
Foolproof Layer Cake Recipes
Once you’ve mastered the basics, you’ll find these tested layer cake recipes deliver consistent results every time. Start with classic layer cake variations like vanilla bean, rich chocolate, or zesty lemon, which serve as versatile foundations for countless flavor combinations.
These proven recipes use standard 8-inch or 9-inch round pans and ingredients you’ll easily find at any grocery store.
For a foolproof chocolate layer cake, combine Dutch-processed cocoa with hot coffee to intensify the flavor, then pair it with classic buttercream or chocolate ganache.
The vanilla bean variation benefits from cake flour and room-temperature ingredients, resulting in a tender, fine-textured crumb that’s perfect for special occasions.
When you’re ready to experiment, try combining complementary flavors like raspberry-chocolate, coconut-lime, or orange-almond.
Each recipe includes precise measurements and temperatures, ensuring your layers bake evenly and release cleanly from the pans.
You’ll find that these tested recipes eliminate common problems like doming, uneven layers, or dry texture, giving you professional-looking results that taste as good as they look.
Simple Decoration Methods That Wow
Even novice bakers can create stunning layer cakes with a few straightforward decorating techniques.
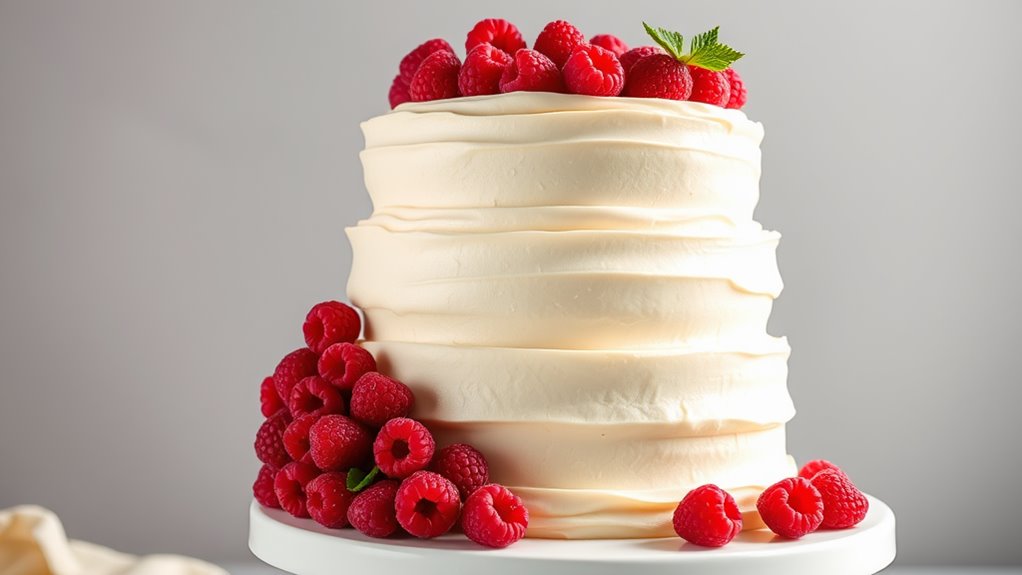
You’ll discover that simple methods can achieve an elevated presentation while letting your flavor combinations shine through. Start with a crumb coat – a thin layer of frosting that traps loose crumbs – then chill your cake for 30 minutes before adding the final coat.
For a polished look, you’ll need just three basic tools: an offset spatula, a bench scraper, and a rotating cake stand.
Create perfectly smooth sides by holding your bench scraper vertically against the cake while slowly rotating the stand. You can achieve texture by dragging a cake comb around the sides or creating rustic swirls with your spatula’s tip.
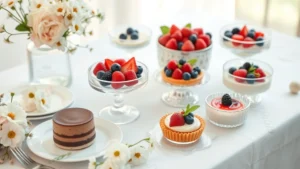
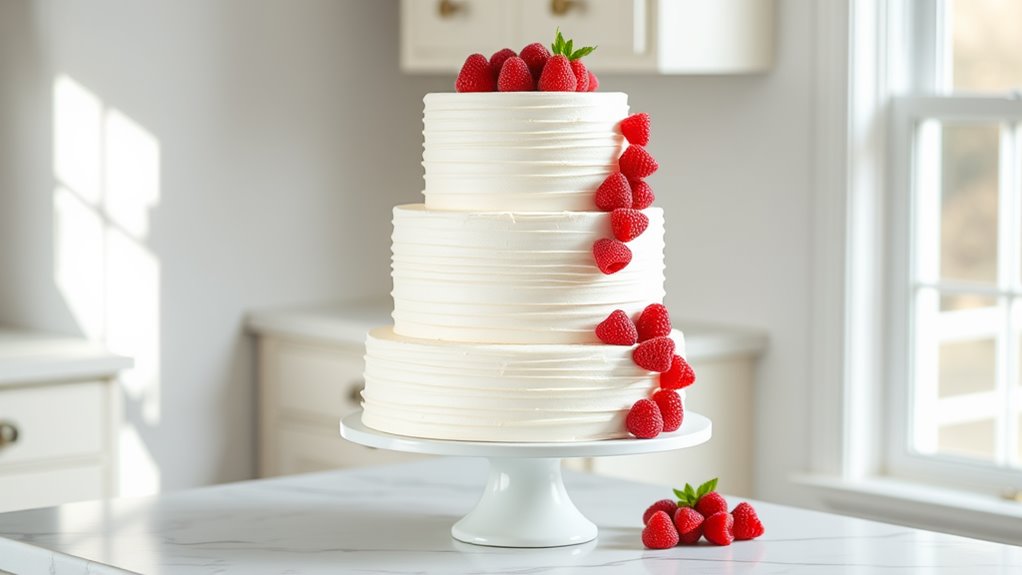
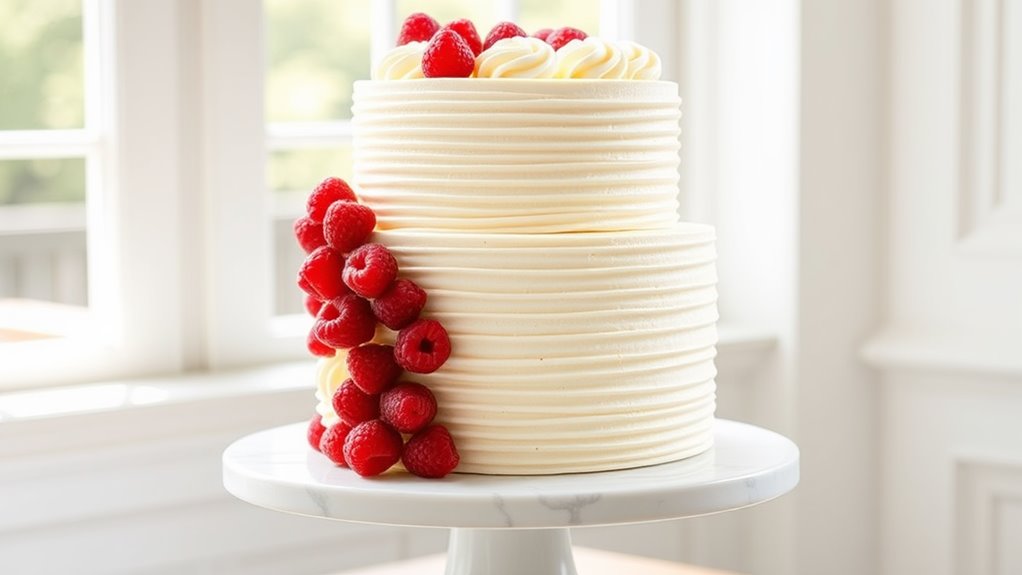
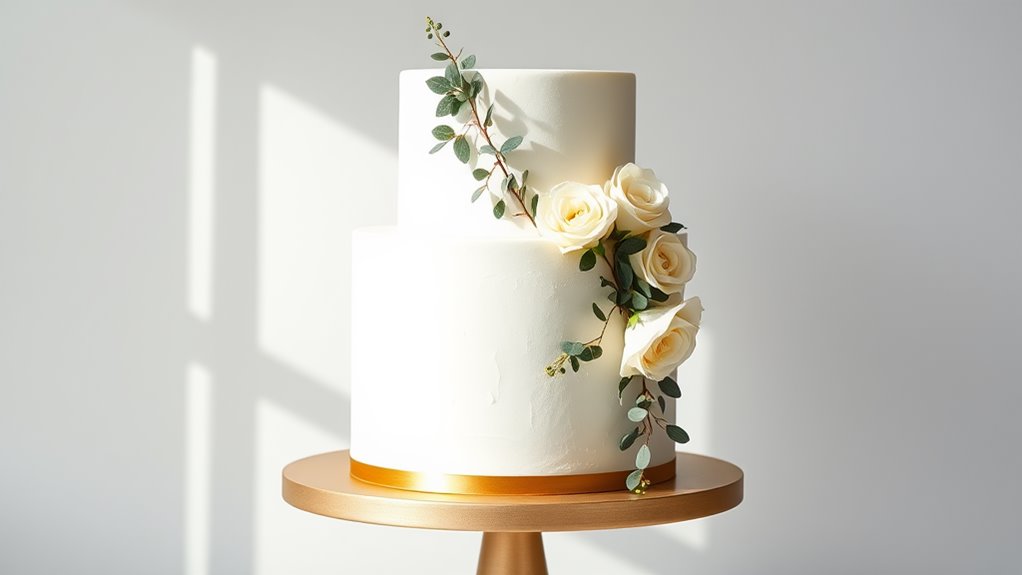
Transform your cake into a showstopper by adding fresh flowers, chocolate shards, or a cascade of fresh berries.
Press chopped nuts or chocolate sprinkles onto the bottom third of your cake, or create an ombré effect by gradually mixing food coloring into your frosting.
These finishing touches don’t require advanced skills but deliver professional-looking results that’ll impress your guests.