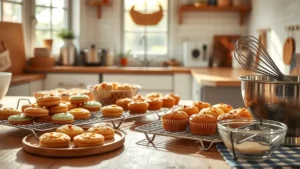
Baking a cake should be a joyous occasion, filled with the aroma of sweet delights and the anticipation of deliciousness.
However, achieving the perfect cake can often feel like a daunting task. With these 10 essential baking tricks, you’ll elevate your cake-making skills and ensure that every cake turns out moist, fluffy, and utterly irresistible. Let’s embark on this baking adventure together!
1. Properly Measure Ingredients
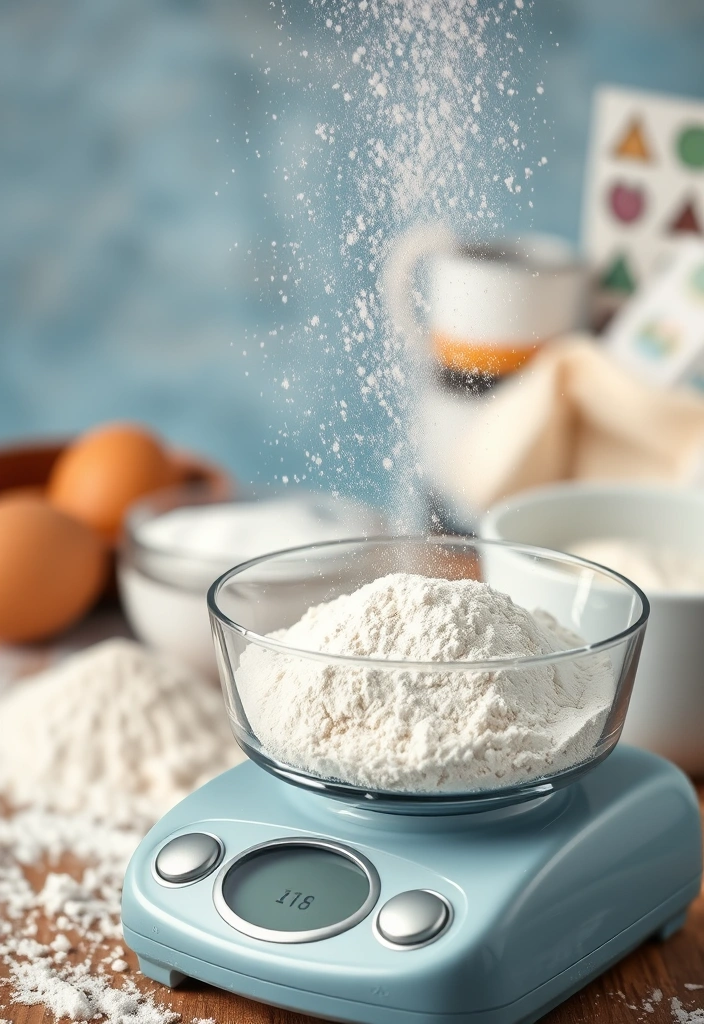
One of the most crucial baking tricks is accurately measuring your ingredients. Baking is a science, and even slight deviations can lead to disastrous results. Use a digital scale for dry ingredients and liquid measuring cups for wet ingredients.
To ensure perfect cakes, spoon flour into your measuring cup and level it off with a knife instead of scooping directly from the bag, which can pack the flour and result in a dry cake.
Ingredients:
– 2 cups of all-purpose flour
– 1 cup of granulated sugar
– 1/2 cup of unsalted butter
– 1 cup of milk
– 3 eggs
– 2 tsp of baking powder
Process:
1. Preheat your oven to 350°F (175°C).
2. Measure your ingredients carefully as outlined above.
3. In a large bowl, cream the butter and sugar until light and fluffy.
4. Add eggs one at a time, mixing well after each addition.
5. In a separate bowl, combine flour and baking powder. Gradually add this to the creamed mixture, alternating with milk.
6. Pour the batter into a prepared pan and bake for 25-30 minutes.
7. Check for doneness with a toothpick.
8. Cool and decorate as desired.
2. Room Temperature Ingredients

Using room temperature ingredients is a game-changer in baking. Ingredients like butter, eggs, and milk blend more easily, creating a smoother batter that traps air better, leading to a fluffier cake.
To bring ingredients to room temperature quickly, place eggs in warm water for about 10 minutes and cut butter into small pieces to speed up the softening process.
Ingredients:
– 1 cup of unsalted butter (softened)
– 4 large eggs (room temperature)
Process:
1. Take your butter out of the fridge at least an hour before baking.
2. If you forget, you can microwave it for a few seconds but be careful not to melt it.
3. For eggs, place them in warm water for a quick fix before adding to your batter.
4. Proceed with your cake recipe as outlined in the previous section, ensuring everything is at room temperature.
3. Sift Dry Ingredients
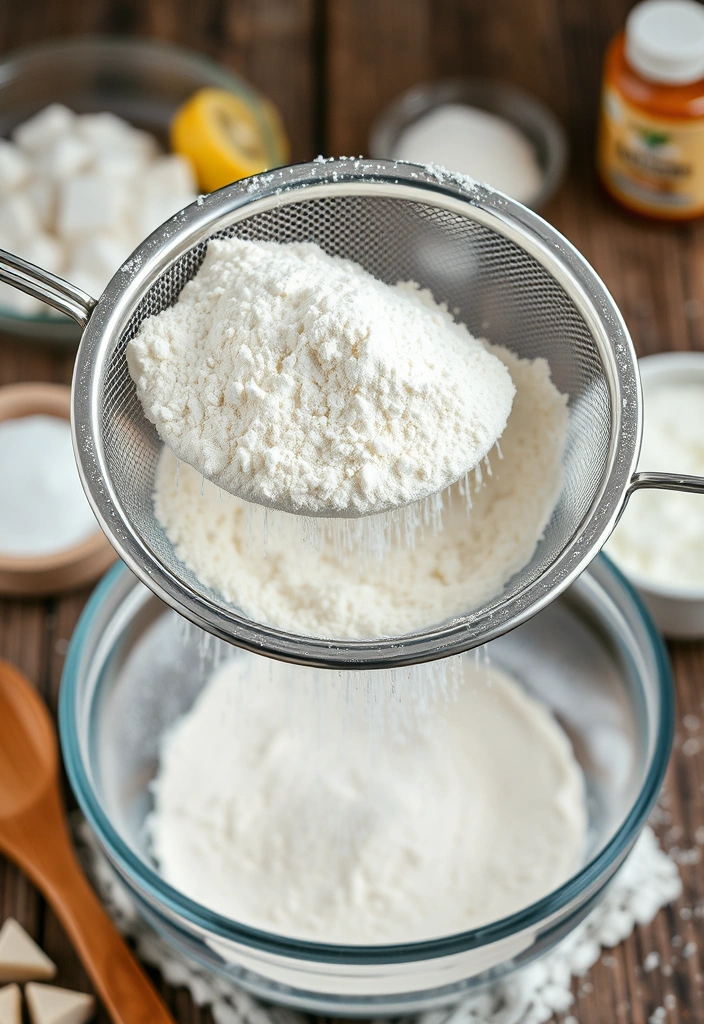
Sifting dry ingredients is not just an extra step; it’s essential for creating light and airy cakes. This process helps to break up clumps and incorporates air into the flour, which improves the texture of your cake.
For the best results, sift together your flour, baking powder, and any other dry ingredients before combining them with the wet ingredients.
Ingredients:
– 2 cups of all-purpose flour
– 2 tsp of baking powder
Process:
1. In a large bowl, combine the flour and baking powder.
2. Use a fine-mesh sieve to sift the mixture into another bowl, ensuring all lumps are removed and air is incorporated.
3. Gradually mix the sifted dry ingredients into your wet mixture as per your cake recipe, folding gently to maintain the airiness.
4. Don’t Overmix the Batter
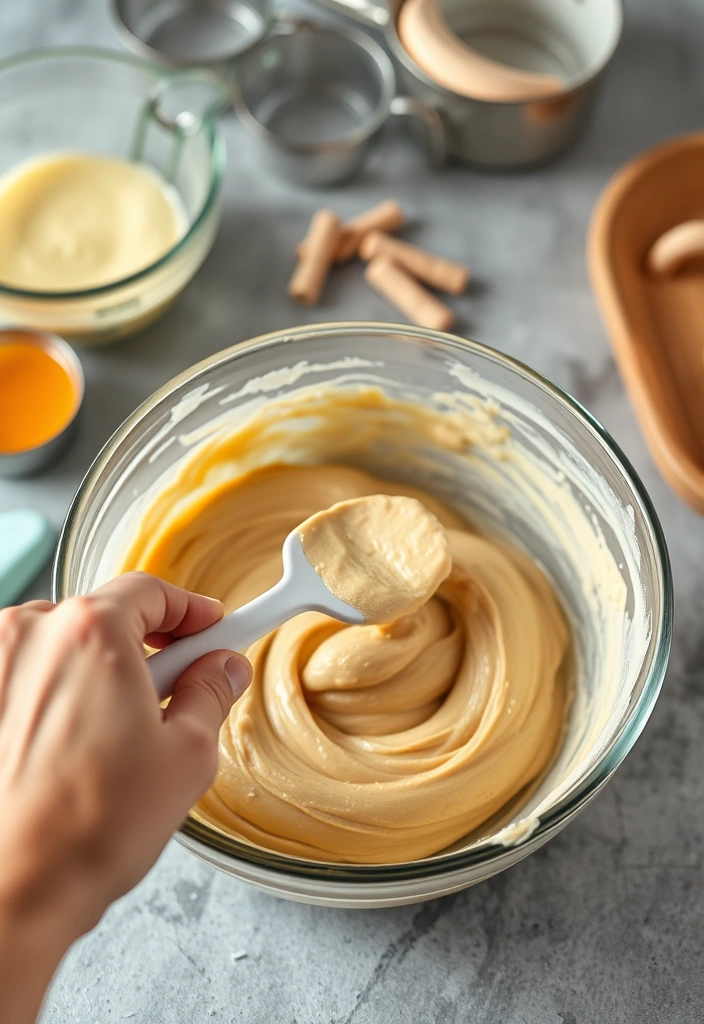
While mixing your cake batter, it’s vital to stop once the ingredients are just combined. Overmixing can lead to a dense and tough cake due to gluten development. Instead, gently fold the ingredients together until you see no dry flour.
This technique preserves the air bubbles created during mixing, which is essential for a light and fluffy cake.
Ingredients:
– Prepared batter from previous sections
Process:
1. Once your dry ingredients are sifted, add them to the wet ingredients.
2. Use a spatula to gently fold the mixture, cutting down through the center and lifting it up and over.
3. Continue folding until no dry flour remains, but be careful not to overmix.
4. Pour the batter into your prepared cake pan and bake.
5. Preheat Your Oven
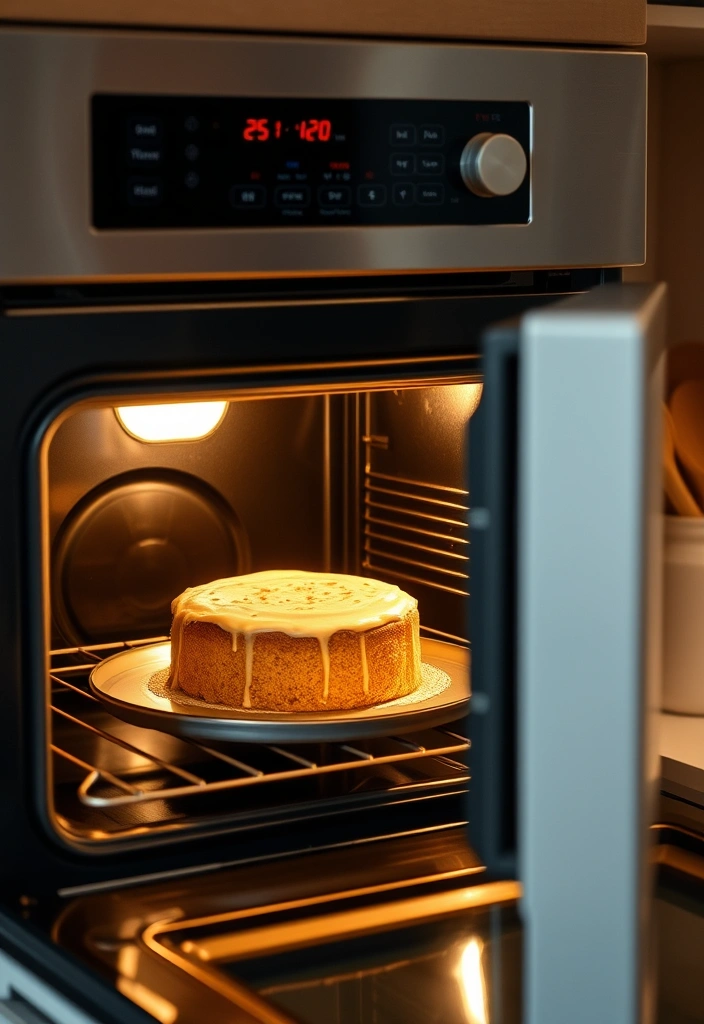
Preheating your oven is a crucial step that many bakers overlook. Starting with a properly heated oven ensures that your cake rises evenly and bakes through without sinking in the center.
Make sure to preheat your oven for at least 20-30 minutes before placing your cake inside to guarantee the best results.
Process:
1. Set your oven to the temperature required in your recipe (typically 350°F/175°C).
2. Allow the oven to fully preheat before placing your batter inside.
3. Use an oven thermometer for accuracy, as many ovens can be off by several degrees.
4. Check the cake after the recommended baking time but resist the urge to open the door too soon, as this can cause the cake to collapse.
Ingredients:
– Cake batter from previous sections
6. Use Parchment Paper
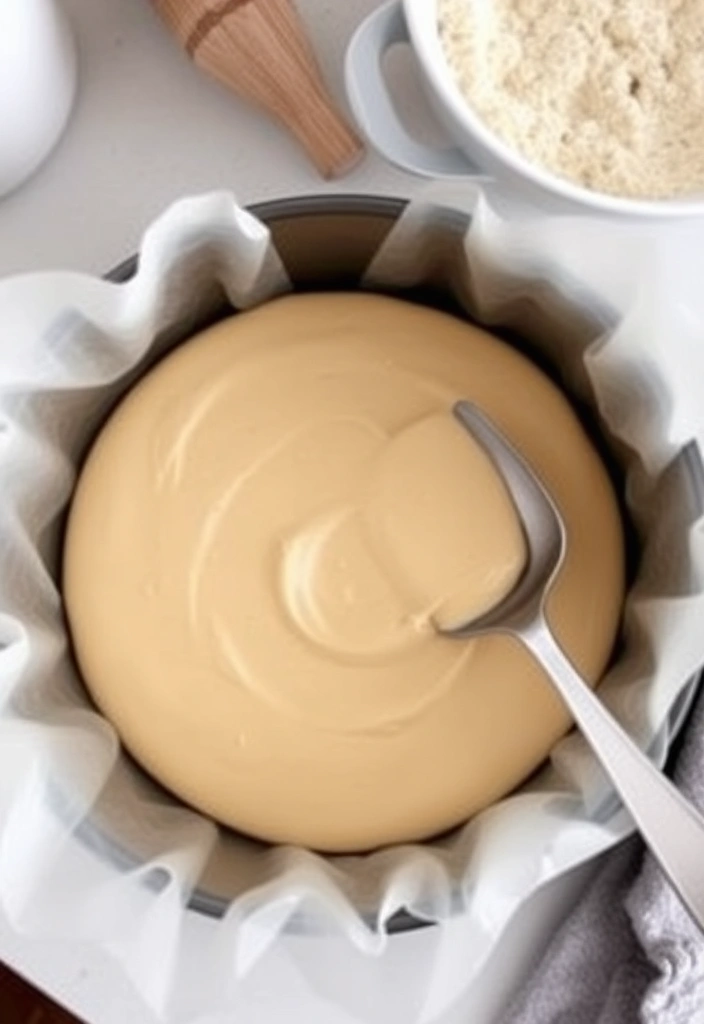
To ensure your cake releases easily from the pan, always line the bottom and sides with parchment paper. This simple trick prevents sticking and keeps your cake intact for easy removal.
Additionally, parchment paper helps in achieving a more even bake by promoting better airflow around the cake.
Process:
1. Cut parchment paper to fit the bottom of your cake pan.
2. Grease the pan lightly before placing the parchment for better adherence.
3. Pour your batter into the lined pan and bake as per your recipe instructions.
4. Once baked and cooled, lift the cake out using the edges of the parchment paper.
Ingredients:
– Cake batter from previous sections
7. Test for Doneness
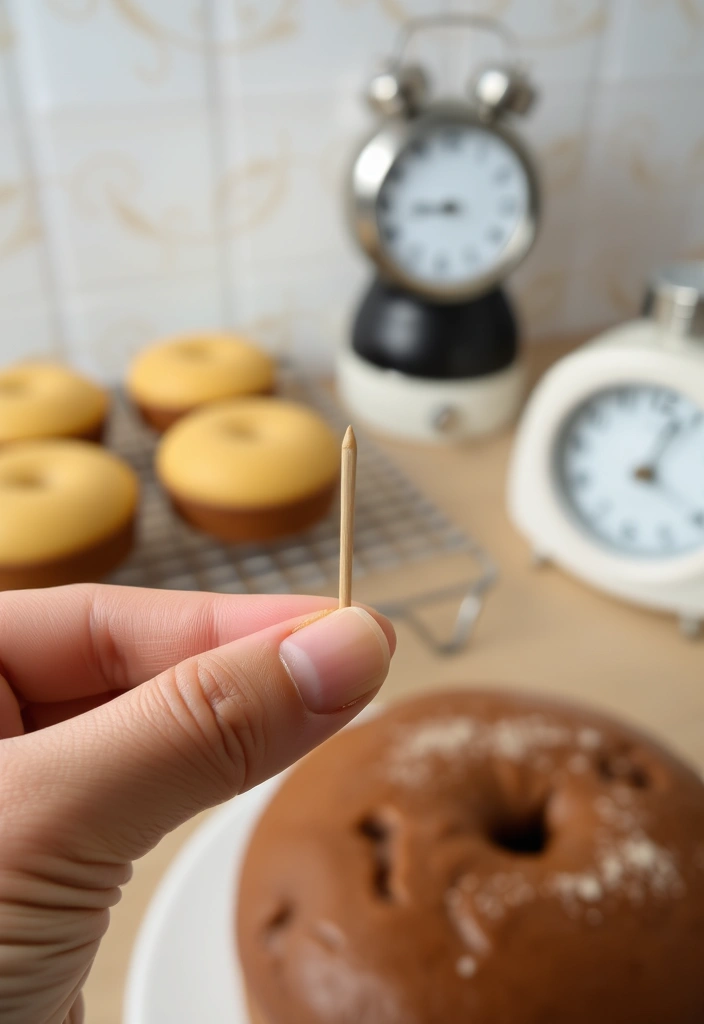
Knowing when your cake is done is essential for a perfect outcome. Use the toothpick test: insert a toothpick into the center of the cake, and if it comes out clean or with a few moist crumbs, your cake is ready.
If the toothpick has wet batter on it, give the cake more time and check again in a few minutes.
Process:
1. After the recommended baking time, open the oven and carefully insert a toothpick into the center of the cake.
2. If it comes out clean, remove the cake from the oven.
3. If not, continue baking and checking every few minutes.
4. Once done, let the cake cool in the pan for a while before transferring it to a wire rack.
Ingredients:
– Baked cake from previous sections
8. Cool Properly
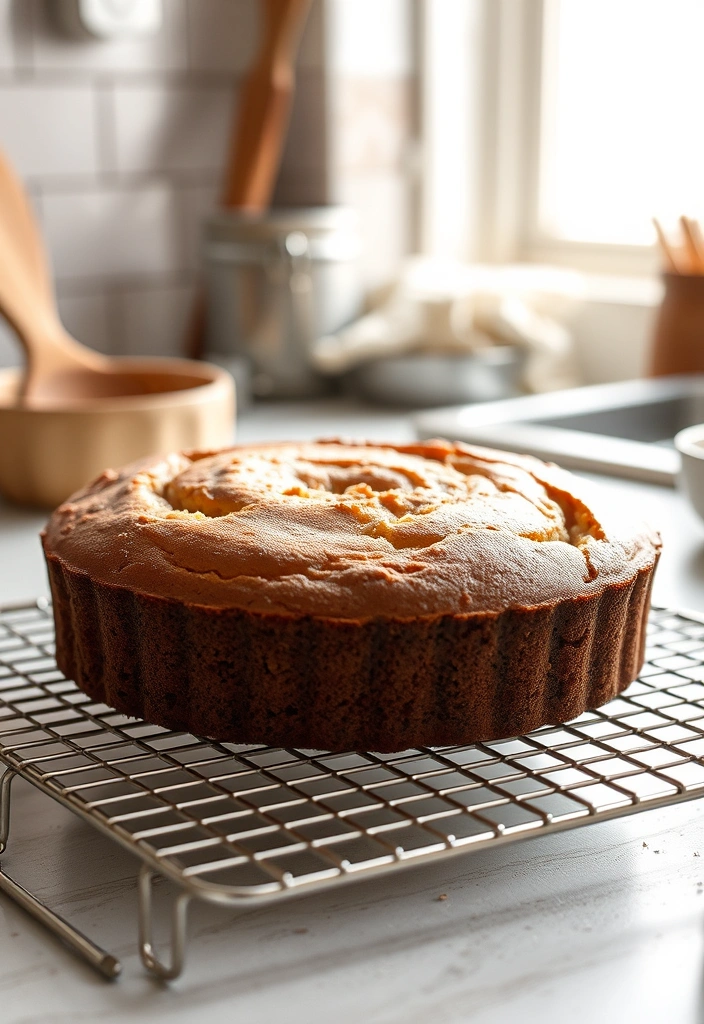
Cooling your cake properly is vital for maintaining its texture. Let the cake cool in the pan for about 10-15 minutes, then transfer it to a wire rack to cool completely.
This prevents the cake from becoming soggy and allows it to set the perfect crumb structure.
Process:
1. After testing for doneness, remove the cake from the oven.
2. Allow it to cool in the pan for about 10-15 minutes.
3. Carefully invert the cake onto a wire rack, removing the parchment paper if used.
4. Let the cake cool completely before frosting or serving.
Ingredients:
– Baked cake from previous sections
9. Use the Right Frosting Technique
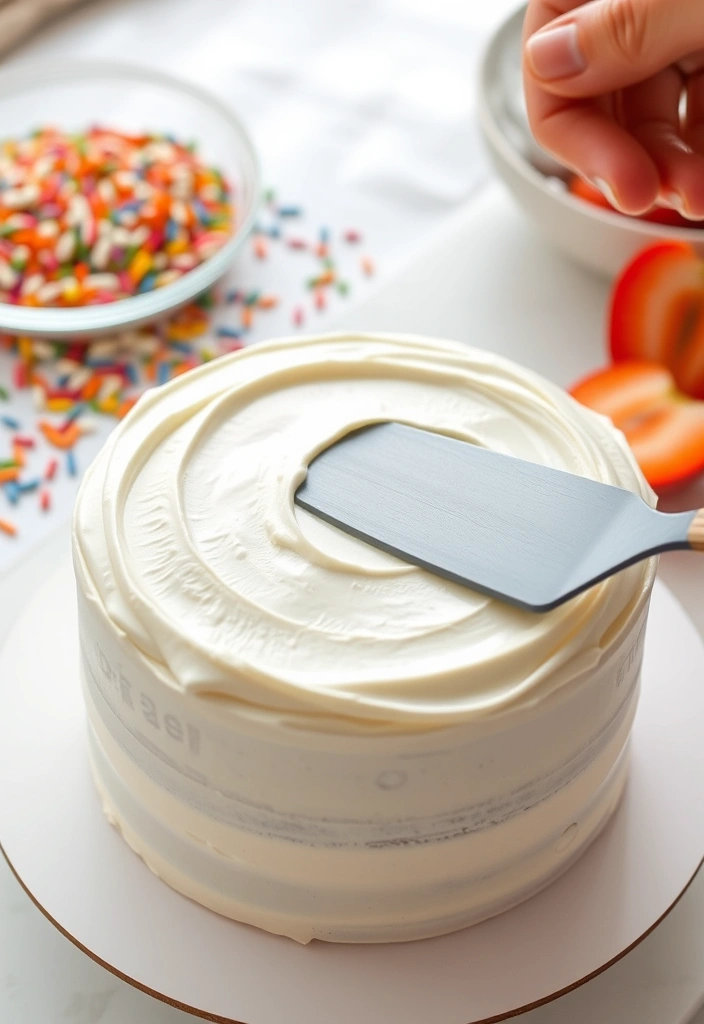
Frosting can make or break your cake. For a smooth finish, use a crumb coat first – a thin layer of frosting that locks in crumbs. Chill the cake for about 30 minutes after applying the crumb coat, then apply your final layer of frosting for a beautiful finish.
This technique ensures a clean, professional-looking cake that’s pleasing to the eye.
Ingredients:
– 2 cups of frosting (buttercream or cream cheese)
Process:
1. Apply a thin layer of frosting over your cooled cake; this is the crumb coat.
2. Chill the cake for 30 minutes to set the crumb coat.
3. Once chilled, apply a thicker layer of frosting over the top and sides for a smooth finish.
4. Decorate as desired with sprinkles, fruits, or chocolate shavings.
Ingredients:
– Baked cake from previous sections, frosting of your choice
10. Experiment with Flavors
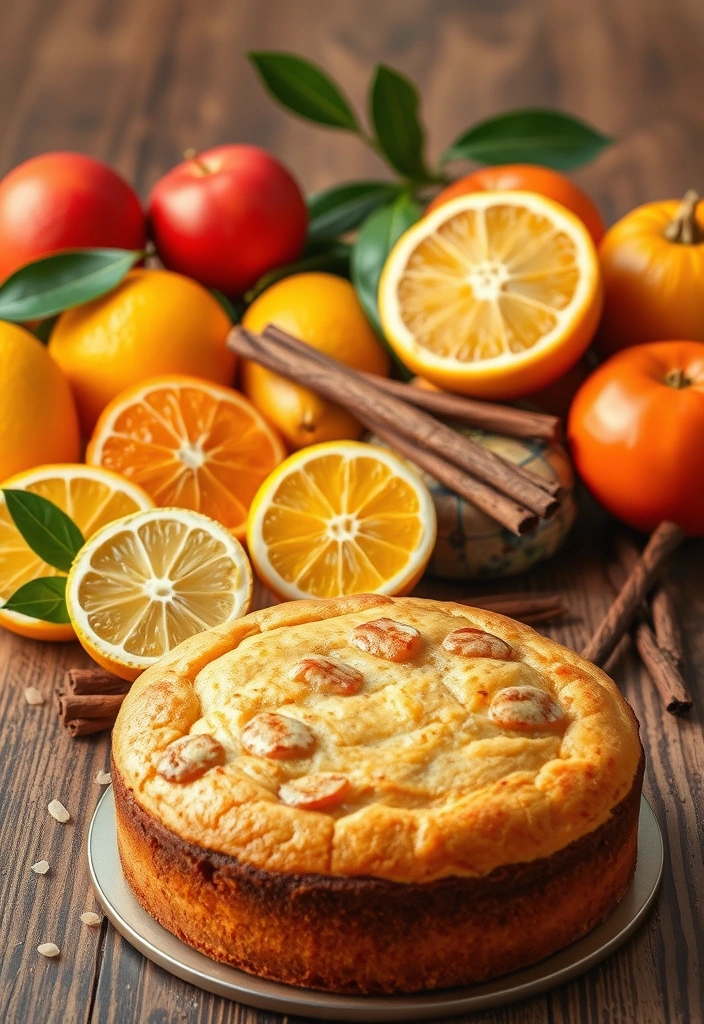
Don’t be afraid to step outside the box and experiment with flavors! Add spices like cinnamon or nutmeg, incorporate citrus zest, or try different extracts like almond or coconut to create unique and delicious cakes that are sure to impress.
This is where your creativity can shine and transform a simple cake into a signature dessert.
Ingredients:
– 2 tsp of vanilla extract
– Zest from 1 lemon or orange
– 1 tsp of ground cinnamon (optional)
Process:
1. Add your desired flavorings to the wet ingredients before combining with dry ingredients.
2. Mix gently until just combined, then bake as usual.
3. Enjoy the unique flavors in your cake!
To Sum Up
With these 10 baking tricks, you’re now equipped to create perfect cakes every time!
From measuring accurately to experimenting with flavors, each step contributes to the overall success of your baking endeavors. So gather your ingredients and let your creativity run wild in the kitchen!