You’ve probably experienced those frustrating moments in the kitchen when your carefully planned dessert doesn’t turn out quite right. Whether it’s cookies that spread too thin or a cake that refuses to rise, these common baking mishaps can discourage even the most enthusiastic home baker. But here’s the thing: mastering the art of baking doesn’t require professional training or expensive equipment. Instead, it’s about understanding a few clever techniques and simple shortcuts that can transform your treats from good to exceptional. Let’s explore these game-changing hacks that’ll help you achieve bakery-worthy results in your own kitchen.
Why Baking Hacks Matter
Everyone can benefit from baking shortcuts that deliver consistent, high-quality results. When you understand baking science and apply proven techniques, you’ll transform your desserts from good to exceptional.
These hacks aren’t just tricks; they’re practical solutions based on understanding how ingredients interact and react during the baking process.
You’ll find that mastering kitchen tools and learning ingredient substitutions can save you time, money, and frustration. Whether you’re dealing with a missing ingredient or trying to achieve the perfect texture, having reliable alternatives and techniques at your disposal will help you avoid common mistakes that plague many home bakers.
The importance of these hacks becomes clear when you’re working on flavor balancing, which requires precise measurements and timing. You’ll discover that small adjustments, like adding a pinch of salt to enhance sweetness or using room-temperature ingredients for better incorporation, can greatly impact your results.
The Art of Precise Measurement
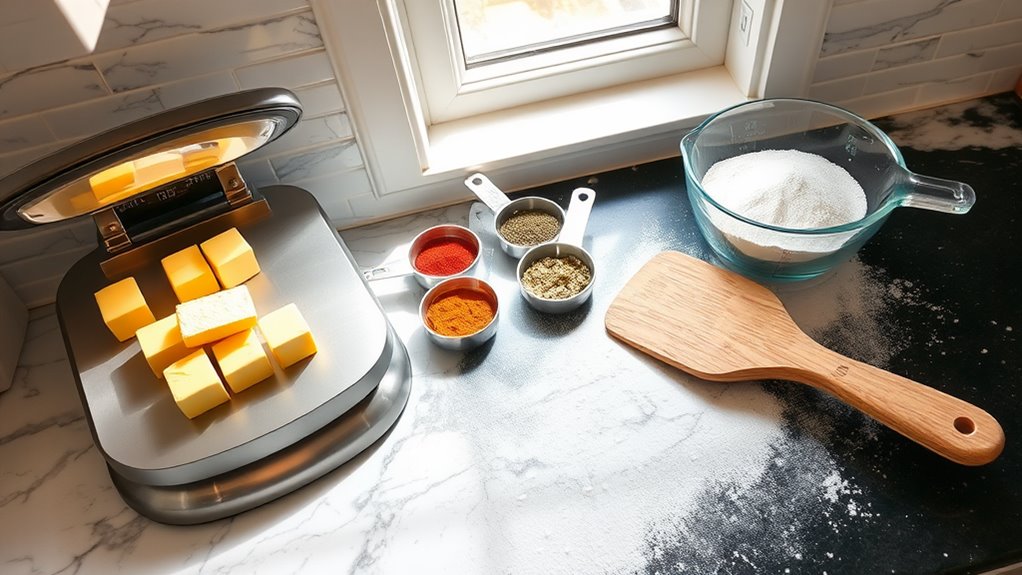
Speaking of professional techniques, precise measurement stands as the foundation of successful baking. You’ll need proper measuring tools, including digital scales, measuring cups, and spoons, to achieve consistent results every time. Understanding ingredient ratios and volume conversions will transform your baking from unpredictable to reliable.
When measuring dry ingredients, you’ll want to use the “spoon and level” method with measuring cups, ensuring there aren’t any air pockets that could throw off your measurements. For liquids, place your measuring cup on a flat surface and bend down to check at eye level that you’ve hit the exact mark you need.
Digital scales offer the most precise measurements, especially when working with flour where a cup can vary by up to 30% depending on how it’s measured. You’ll find that professional bakers prefer working with weight measurements (grams or ounces) rather than volume measurements.
To master precision techniques, start by zeroing your scale before each ingredient, measuring items separately, and maintaining a consistent process. When converting between volume and weight measurements, keep a reliable conversion chart nearby for quick reference.
Temperature Is Everything
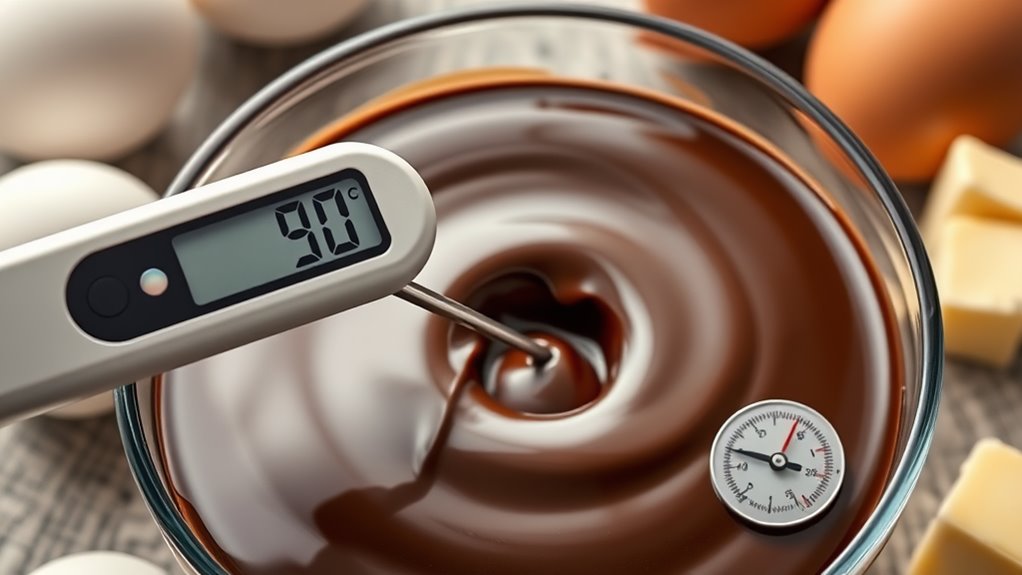
The right temperature can make or break your baked goods, from the warmth of ingredients to the precision of your oven.
When it comes to ingredient temperature, you’ll want your eggs, butter, and milk at room temperature (around 68°F) for most recipes, allowing them to cream and blend more effectively. You’ll find that cold ingredients can create lumpy batters and uneven textures in your final product.
Your oven’s temperature calibration is essential for consistent results. You can verify your oven’s accuracy by using an independent oven thermometer, as built-in sensors can be off by 25-50 degrees.
If you’re working with dough, proper resting temperature matters greatly – let your cookie dough chill at 40°F for at least 24 hours to develop deeper flavors and achieve better texture.
Monitor your baking time carefully, as even a few minutes can affect the outcome. You’ll know most cakes are done when they reach an internal temperature of 210°F, while bread should hit 190°F.
Remember to rotate your pans halfway through the baking process to guarantee even heat distribution and consistent browning.
Sifting Makes Perfect
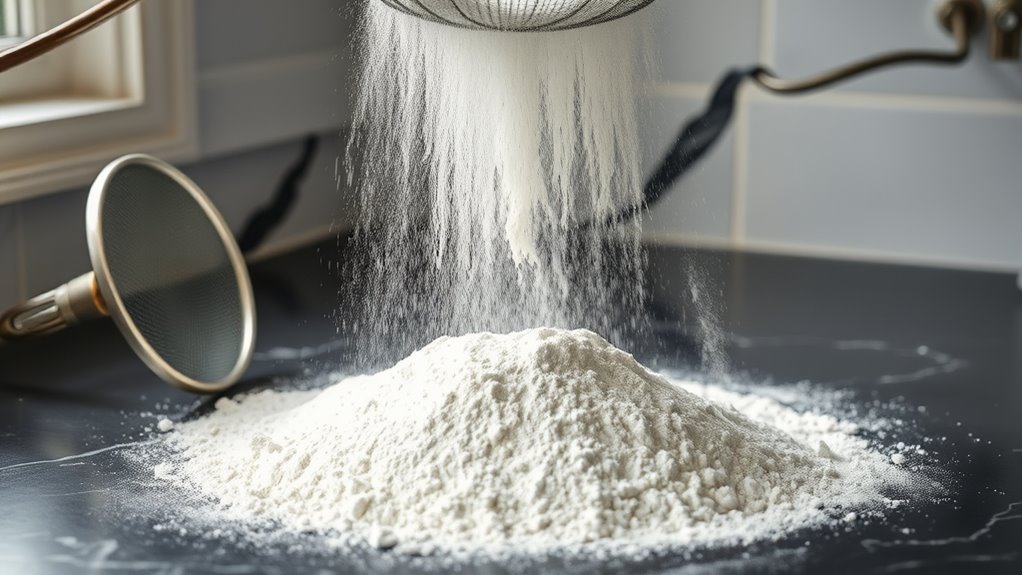
Sifting your dry ingredients sets you up for consistently smooth, lump-free batters and doughs. The benefits of sifting include better ingredient incorporation, lighter texture in finished baked goods, and elimination of unwanted debris that can sometimes hide in flour.
You’ll notice a significant difference in your cakes, cookies, and pastries when you master proper sifting techniques.
For best results, you’ll need the right tools for sifting. While a traditional hand-crank sifter works well, you can also use a fine-mesh strainer or a wire whisk to break up clumps.
When sifting, hold your tool about 6-8 inches above your mixing bowl to incorporate more air into the ingredients.
Watch out for common sifting mistakes that can impact your results. Don’t tap the sifter against the bowl’s side, as this compacts the ingredients you’ve just aerated.
If you’re looking for sifting alternatives, you can whisk your dry ingredients vigorously for 30 seconds, though this won’t catch debris or break down larger lumps as effectively.
For recipes requiring ultra-fine texture, like angel food cake, there’s no substitute for proper sifting.
The Power of Chilled Dough
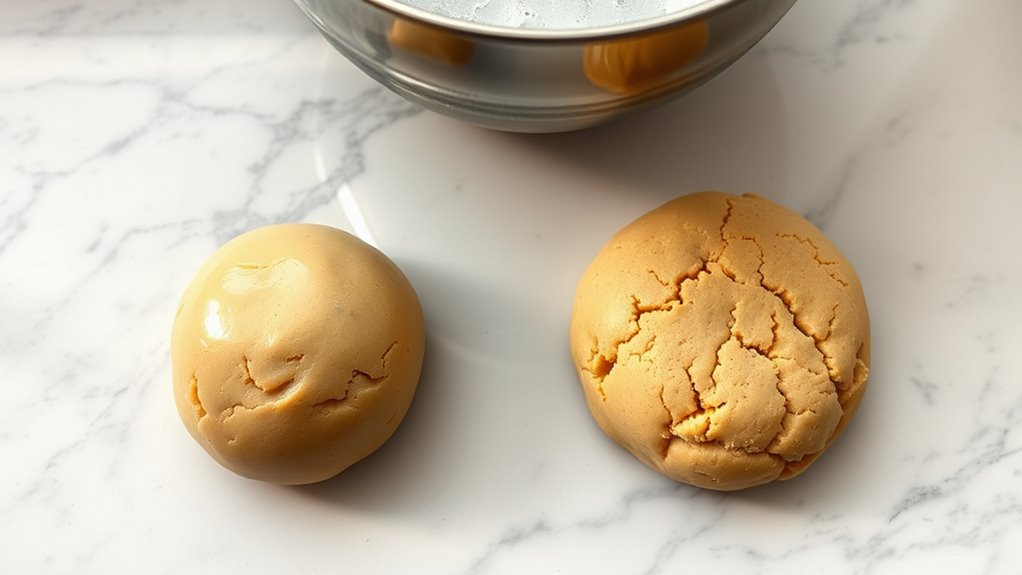
Ever wonder why professional bakers insist on refrigerating cookie dough overnight? The dough resting importance can’t be overstated, as chilling allows flavors to develop fully and prevents cookies from spreading too thin during baking.
When you refrigerate your dough, the fats solidify completely, which leads to significant dough texture improvement and more controlled spreading in the oven.
Optimal chilling times vary depending on what you’re baking. For standard cookie dough, you’ll want to chill for at least 2 hours, though 24 hours yields the best results.
Pie crusts benefit from 30 minutes to an hour of cooling, while complex pastries may need up to 48 hours for the best outcome.
To maximize chilled dough benefits, wrap your dough tightly in plastic wrap or place it in an airtight container before refrigerating.
Your refrigeration techniques should include placing the dough on a flat surface in the fridge’s coldest section, typically the back.
If you’re short on time, you can speed up the process by dividing the dough into smaller portions or placing it in the freezer for 15-20 minutes instead.
Line Your Baking Sheets
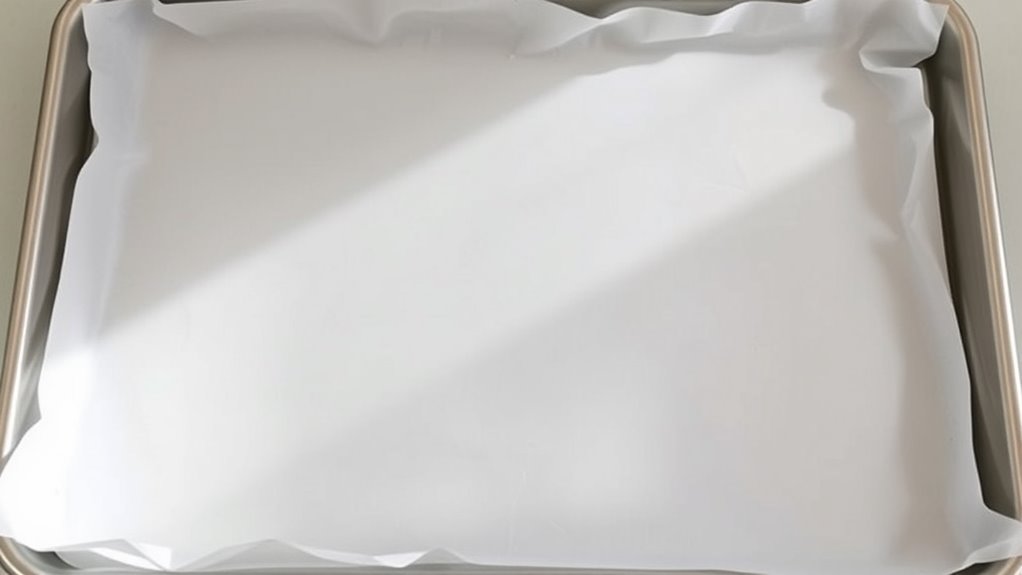
Properly lined baking sheets serve as your first defense against stuck-on desserts and uneven browning. When you’re baking cookies, pastries, or delicate confections, the right liner can make the difference between perfect results and a frustrating cleanup session.
Parchment paper offers the most versatile and reliable option, as it withstands temperatures up to 450°F while providing a non-stick surface that you can easily dispose of after use. You’ll find it especially useful for cookies, as it allows them to spread evenly without sticking.
Silicone mats provide a reusable alternative that’s perfect for macarons and other precise desserts, offering consistent heat distribution and eliminating the need for additional greasing.
While aluminum foil can work in a pinch, it’s best reserved for tasks like catching drips or creating makeshift pastry molds. Non-stick sprays might seem convenient, but they can leave a sticky residue that builds up over time.
Instead, invest in quality reusable liners that’ll save you money and deliver better results in the long run. Remember to trim your liners to fit your pans exactly, preventing any overhang that could affect air circulation.
Master Your Oven
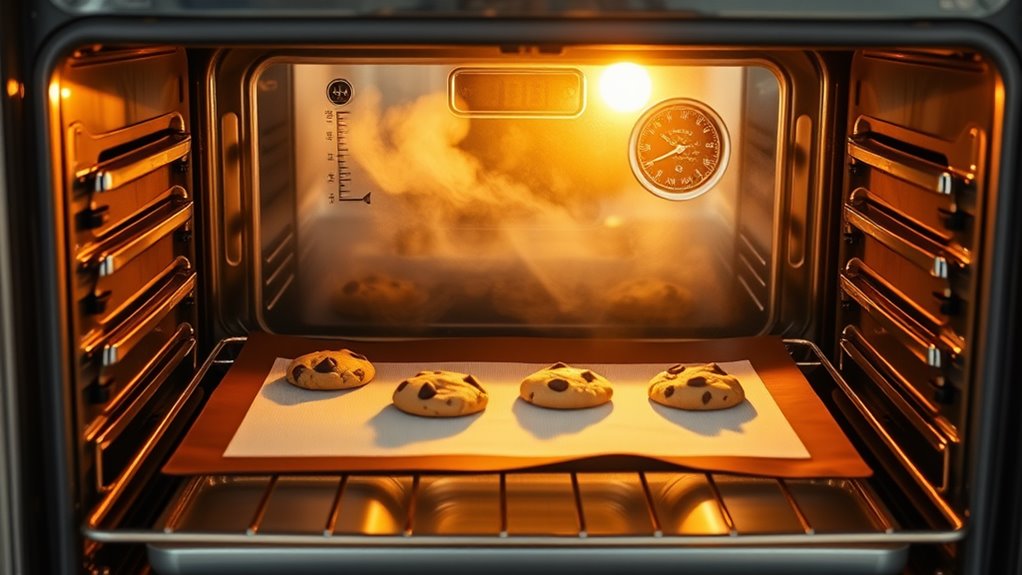
Your oven’s temperamental nature can make or break your baking success. Understanding oven calibration techniques is essential, as most home ovens can be off by 25-50 degrees from their displayed temperature.
You’ll want to invest in an oven thermometer and adjust your settings accordingly to guarantee accurate readings.
Heating element differences matter greatly when you’re deciding where to place your baked goods. In conventional ovens, the bottom element provides primary heat, while the top element helps with browning.
If you’re using a convection vs. conventional setting, you’ll need to reduce both temperature and cooking time by about 25 degrees and 25% respectively to prevent overdone edges.
Rack positioning strategies play an important role in achieving perfect results. Position racks in the middle for even heat distribution when baking cakes and cookies, while the upper third works better for browning breads and pastries.
To avoid oven mishaps, don’t open the door during the first half of baking time, and rotate pans halfway through for even browning. When baking multiple items, maintain at least 2 inches of space between pans and oven walls for proper air circulation.
Salt In Sweet Treats
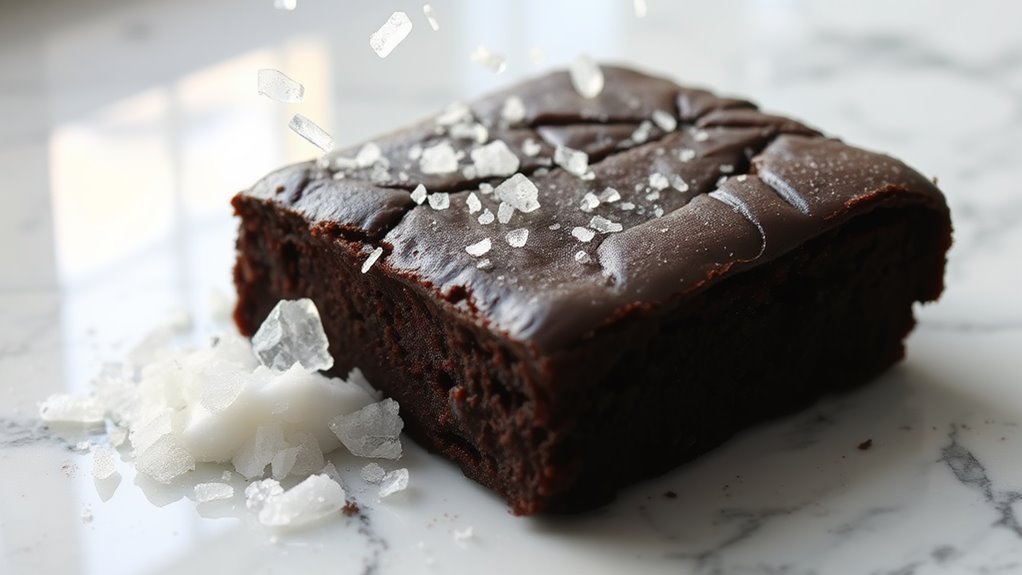
While many bakers focus solely on sugar, salt plays an essential role in enhancing the flavor profile of desserts. You’ll find that adding just 1/4 to 1/2 teaspoon of fine sea salt per cup of flour creates the perfect sweet balance in your baked goods, making chocolate taste richer and caramel more complex. This flavor enhancement works because salt activates your taste buds, allowing you to detect subtle flavor notes that might otherwise go unnoticed.
When it comes to ingredient pairing, you’ll want to experiment with different types of salt for varying effects. Flaky sea salt sprinkled on chocolate chip cookies just before baking provides texture contrast, while pink Himalayan salt can add a sophisticated savory twist to caramel sauce or brownies.
Try incorporating 1/8 teaspoon of kosher salt into your vanilla-based desserts to amplify their natural sweetness without making them taste salty.
Remember that timing matters when adding salt to your desserts. Mix fine salt into your dry ingredients for even distribution, but save flaky finishing salts for sprinkling on top just before or after baking for maximum visual and textural impact.
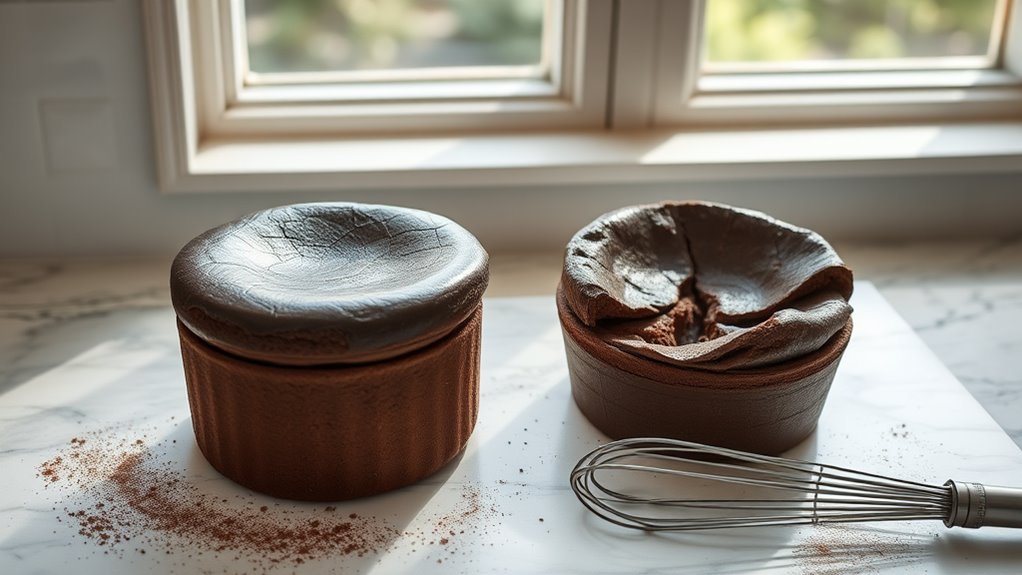
Achieving the Perfect Rise
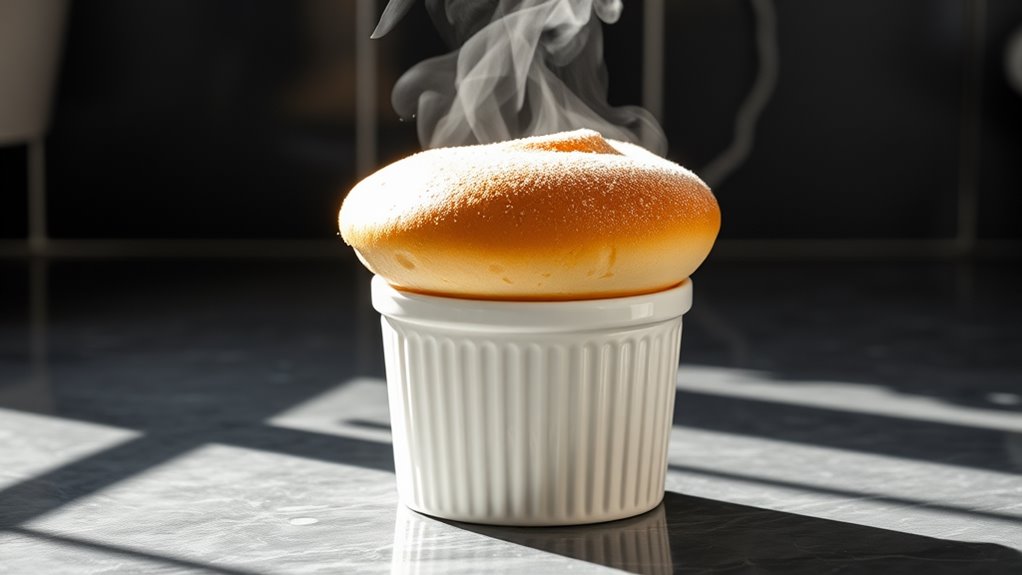
Getting the perfect rise in baked goods comes down to understanding the science behind leavening agents. When you’re working with rising agents like baking powder, baking soda, or yeast, timing and temperature play vital roles in achieving ideal results. Your baked goods’ success depends on proper activation of these leaveners, which create the gas bubbles needed for that perfect lift.
For chemical leaveners like baking powder, you’ll need to verify they’re fresh and active – test by adding a teaspoon to warm water; it should fizz vigorously.
When working with yeast activation, maintain liquid temperatures between 105-115°F to promote proper fermentation without killing the organisms. You’ll also need to take into account your oven temperature carefully, as fluctuations can greatly impact cake structure and overall rise.
To maximize your rise, don’t overmix your batters, as this can deflate the air bubbles you’ve worked to create.
Check that your oven is properly calibrated using an oven thermometer, and avoid opening the door during baking, which can cause rapid temperature changes that affect the final rise and texture of your desserts.
Testing Your Baked Goods
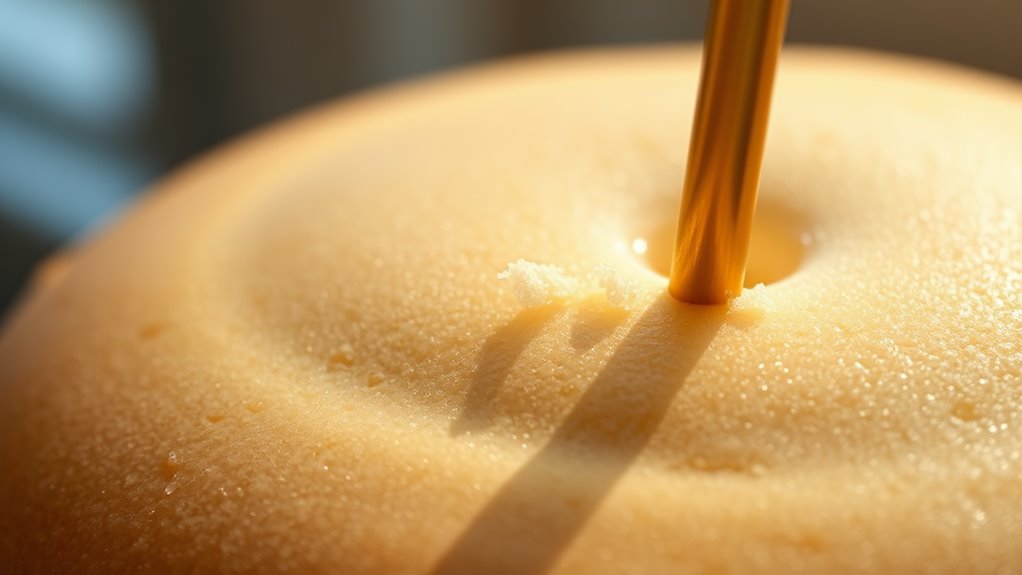
Once your baked goods have risen properly, knowing when they’re fully cooked becomes the next key challenge. Understanding the essential doneness indicators will help you achieve consistent results and prevent both under-baking and over-baking your treats.
Start with visual cues by checking that your baked goods have achieved the specified golden-brown color and aren’t showing signs of excessive darkening around the edges. You’ll want to look for slight pulling away from the pan’s sides, which indicates proper structure development and complete baking.
Texture evaluation requires a gentle touch test in the center of your baked item, where it should spring back when lightly pressed, and inserting a toothpick or cake tester, which should come out clean or with a few moist crumbs. For bread and certain pastries, you can also tap the bottom – a hollow sound indicates doneness.
Flavor balance and proper taste testing should only be performed once your items have cooled to the recommended temperature, typically 10-15 minutes for cookies and 30-45 minutes for cakes. This cooling period allows the internal structure to set completely and guarantees accurate assessment of both texture and taste.
Cool Before You Move
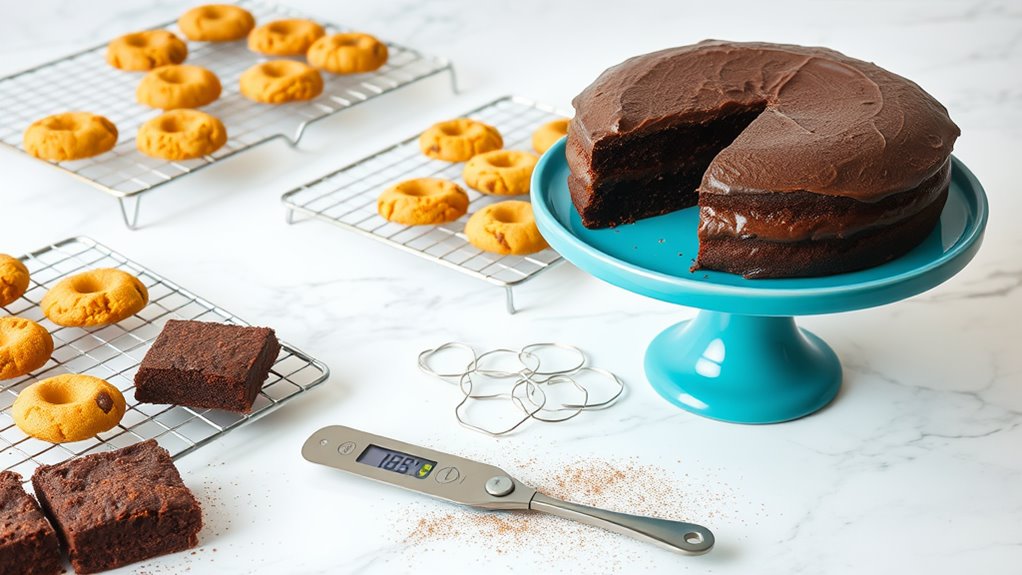
Patience plays an essential role when cooling your baked treats. The cooling process directly impacts your dessert’s texture, structure, and final presentation, making it vital to master proper timing techniques before handling your creations. You’ll need to resist the urge to move or cut into hot baked goods, as premature handling can lead to crumbling, condensation issues, or collapsed layers.
Start by transferring your items to proper cooling racks, which allow air circulation and prevent soggy bottoms. For cakes and cookies, you’ll want to wait 10-15 minutes in the pan before moving them to the rack, while bread typically needs 5-10 minutes.
When it comes to layering desserts, make sure each component has reached room temperature to prevent melting or separation of fillings. Your stacking methods should follow a systematic approach: wait until items are completely cool, usually 1-2 hours, before attempting any assembly.
Once cooled, implement proper storage solutions by using airtight containers, keeping in mind that different desserts require varying humidity levels and temperature conditions. You’ll find that properly cooled treats maintain their shape and flavor far better than those rushed through this critical step.